C4D与AE教程 制作LOGO演绎片头动画专业训练视频教程
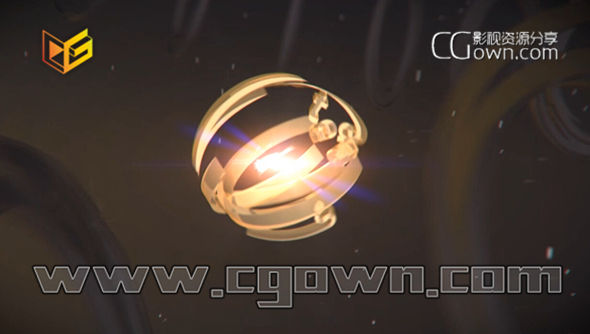
在这一系列的CINEMA 4D的后效果教程,我们将从平面设计到一个完全的复合三维动画以标识标志。我们将开始学习如何准备在Illustrator是花键的CINEMA 4D的进口。然后,我们将添加深度,旋转,摄像机运动,照明和材料带标志的生活。
我们将学习如何添加一些快速变化的MoGraph动画的外观和如何使用标签来获得一个快速,简单,有效的摄像机动画。一旦我们设置渲染的四维影院,我们继续的影响后,我们就开始合成过程。
在本课程的影响部分之后,我们会添加镜头光晕,在动画的整体外观起重要作用。我们还添加颗粒,帮助销售的深度,我们的相机设置在3D应用程序的建立。
我们完成了添加一些现实的镜头效果,打好最后一眼,大。在这个四维影院结束后影响训练,你就会知道如何走平坦的标志和把它变成一件令人惊奇的。
In this series of CINEMA 4D and After Effects tutorials, we’ll be taking a logo from it’s flat design to a fully composited 3D logo animation. We’ll begin by learning how to prepare the logo in Illustrator to be imported as splines to CINEMA 4D. Then, we’ll add depth, rotation, camera movement, lighting and materials to bring the logo to life.
We’ll learn how to add some quick variation to the look of the animation with Mograph and how to use tags to get a quick, easy, and effective camera animation. Once we set up the render in CINEMA 4D, we move on to After Effects, where we’ll begin the compositing process.
In the After Effects portion of the course, we’ll add Lens Flares that play an important role in the overall look of the animation. We also add particles that help to sell the depth that we established with our camera settings in the 3D application.
We finish off by adding a few realistic lens effects that punch up the final look from good, to great. By the end of this CINEMA 4D and After Effects training, you’ll know how to take a flat logo and turn it into something amazing.
效果视频:
本资源下载地址:
https://pan.baidu.com/s/1i3GJZXN 提取码:s0pr
好风口资源 » C4D与AE教程 制作LOGO演绎片头动画专业训练视频教程